How to Layer for an Apple Shape Without Adding Bulk Exactly Where You Do Not Want It
Quick Answer: Bulk is unavoidable when you layer - the question is placement. For an apple shape, keep the layer closest to your midsection smooth and fitted, and put all the volume in an open outer layer that creates vertical lines on either side of your torso. Open cardigans and unzipped jackets work; anything belted, cropped at the waist, or bunched at the middle does not. The vertical break the open layer creates does more than any single garment choice.
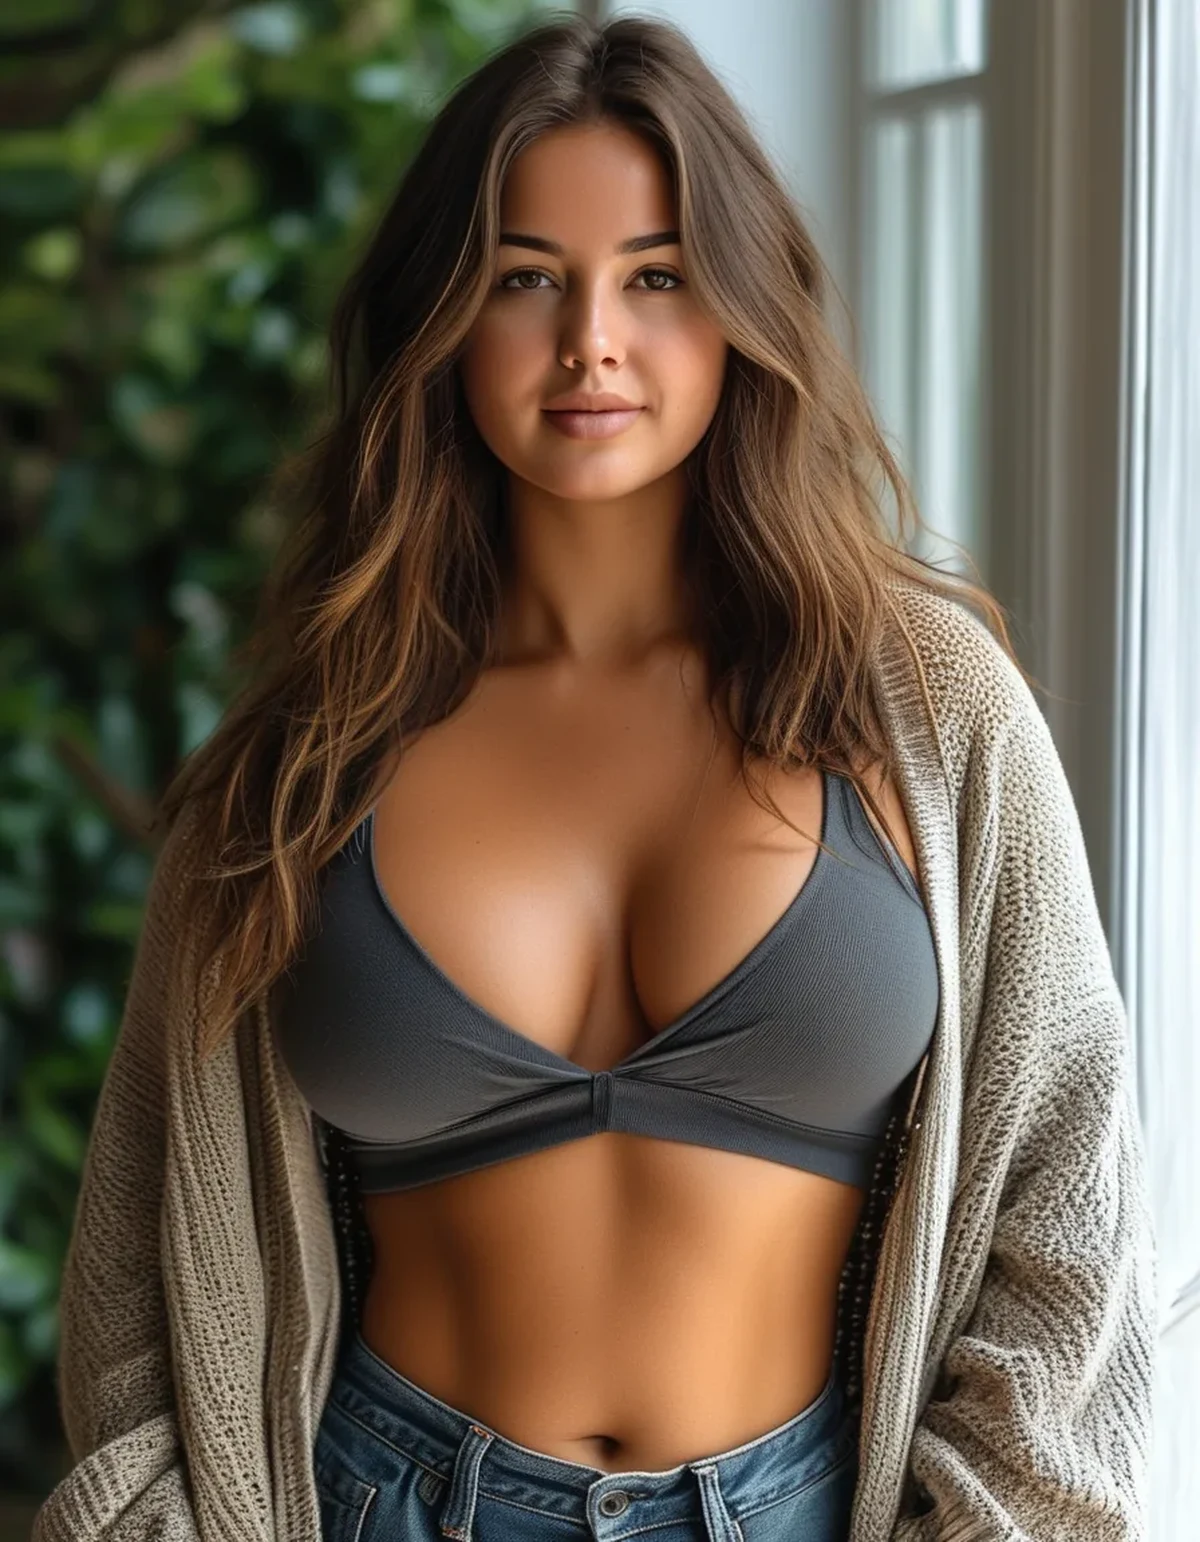
Standard layering advice tells you to add a chunky knit and call it cozy. On an apple-shaped frame that knit lands exactly where you least want extra volume.
The fix is not fewer layers. It is a different geometry.
Why does standard layering advice not work here?
Because most of it assumes the waist is the narrowest point and treats it as the place to define.
An apple-shaped frame carries weight through the midsection, often with slimmer legs and arms. Advice built around cinching a waist is solving a problem you do not have and creating one you do - a belt at the widest point emphasizes exactly that point.
The second issue is texture placement. Chunky and textured knits add real visual volume, roughly a size worth, and standard advice puts them as the main body layer. On this frame, that lands the volume at the middle.
The third is length. Layers that end at the natural waist create a horizontal line right where the eye already stops. It reads as a division of the torso into two blocks.
None of these are rules about what you may wear. They are just predictable effects worth knowing before you stand in front of a mirror wondering why an outfit feels wrong.
What is the open-layer principle?
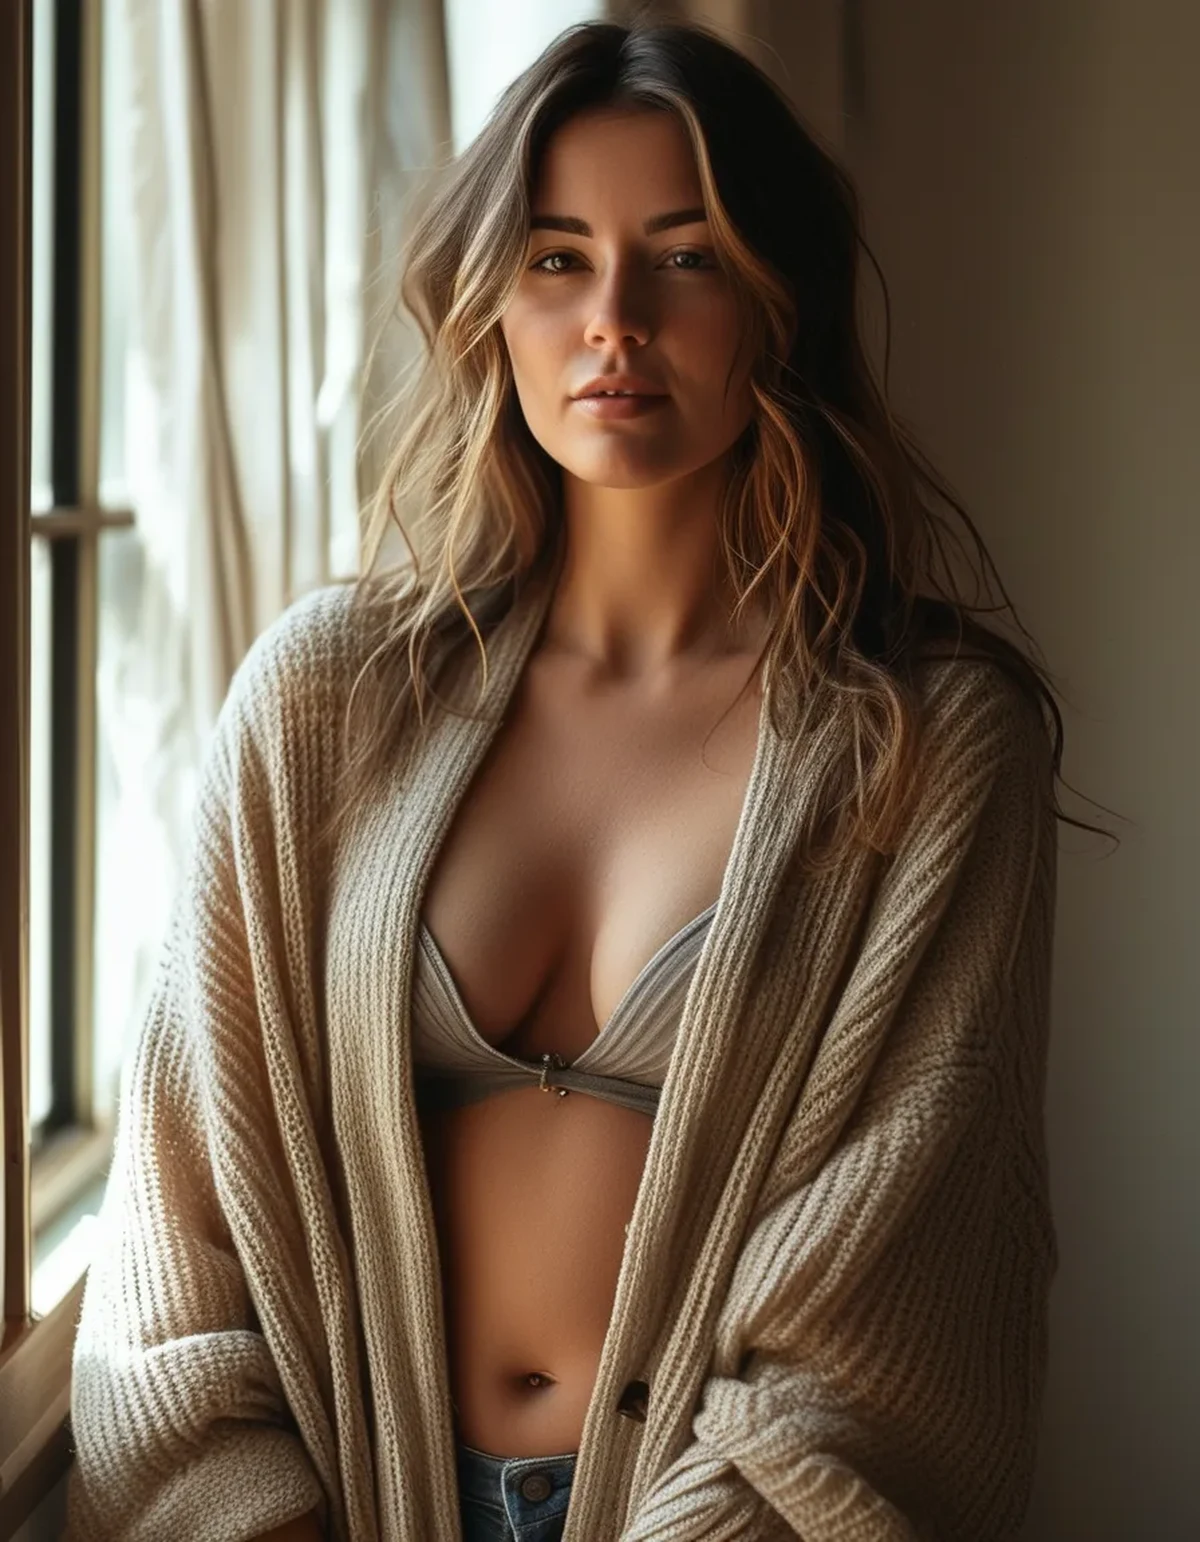
An open outer layer creates two vertical lines running down either side of your torso, and vertical lines are the single most effective tool available here.
When a cardigan or jacket hangs open, the eye follows the front edges downward. Those edges frame the midsection rather than covering it, and they create a long uninterrupted vertical that reads as height rather than width.
The requirements are specific:
- It must actually stay open. A cardigan you keep pulling closed is doing the opposite job. If it will not hang, it is the wrong piece.
- It should extend past the widest point - typically mid-thigh or longer. A layer ending at the waist stops the vertical line right where you want it to continue.
- The edges should have some weight or structure so they hang straight rather than flaring outward.
This one principle does more than any other single choice, and it works with pieces most people already own.
What goes underneath?
Smooth and fitted, without exception. This is the layer touching your midsection and it should add as close to zero volume as possible.
What works underneath:
- A fitted long-sleeve top in a smooth knit. Not clingy, not loose - skimming.
- A seamless base layer if you are layering more than two pieces. Seams and hems create ridges under the next layer.
- Darker tones than the outer layer, which recedes visually and reinforces the vertical framing effect.
- Longer than the outer layer’s first horizontal element, so nothing rides up and bunches.
What to avoid directly against the midsection: chunky knits, anything with a gathered or elasticated waist, cropped hems that end at the fullest point, and horizontal ribbing across the middle.
The rule is easy to remember - volume goes outside and open, never inside and closed.
5 Mistakes Everyone Makes Layering an Apple Shape
1. Adding a belt over the outer layer. Belting at the widest point does exactly what you would expect. If you want horizontal definition, put it at the highest rib or under the bust, not at the natural waist.
2. Choosing an oversized top as the base layer. Oversized reads as volume regardless of what goes over it, and once it is the closest layer to your midsection there is nothing an outer piece can do to fix it.
3. Layers that end at the widest point. A cardigan or jacket hem landing at the fullest part of the midsection draws a horizontal line exactly there. Go shorter (above it) or longer (well past it) - never level with it.
4. Bulky scarves worn low. A scarf hanging to mid-torso adds width at the middle. Worn high and close at the neck it does the opposite, drawing the eye upward.
5. Matching every layer in the same tone. A single tone from neck to hem removes the vertical contrast that makes the open-layer trick work. You want the outer layer to read as distinct from the base.
What about outerwear when it actually gets cold?
Real winter coats are the hardest version of this problem, because a coat you have to close removes the open-layer option.
The features that work:
A structured shoulder. Structure at the top of a coat creates a frame that makes everything below read as narrower by comparison. This is why a tailored coat outperforms a soft puffer on this frame even at the same volume.
Length past mid-thigh. Longer coats maintain the vertical line even when closed.
A vertical closure detail - a contrasting placket, a double-breasted line, a long zip - which preserves a central vertical even when the coat is shut.
No belt at the natural waist, or one you simply do not use. Many coats come with a belt that can be removed entirely.
What to be cautious about: horizontally quilted puffers, which stack visible horizontal lines up the torso, and coats that end right at the widest point. Vertical or diagonal quilting is available and does not have this problem.
FAQ: Apple Shape Layering Questions, Answered
Can I wear a chunky knit at all?
Yes - as the open outer layer, in a long length, worn over something smooth. What does not work is a chunky knit as the fitted layer against your midsection. Same garment, different position, completely different result.
Are tucked-in tops off the table?
A front tuck often works better than a full tuck, because it creates a diagonal rather than a horizontal line and keeps the vertical of the open layer intact. Full tucks with a defined waistband tend to emphasize the widest point.
What if I run hot and cannot wear three layers?
Then the open layer is doing all the work and it should be the piece you invest in. A single well-cut long open cardigan over a fitted base is a complete outfit, and it is warmer than it looks because of the trapped air at the sides.
Does this apply to activewear too?
Directly. An open zip-up hoodie over a fitted top follows the same geometry, and high-waisted bottoms that sit at the narrowest part of the ribcage rather than at the fullest point of the midsection tend to be more comfortable as well as more flattering.
TL;DR:
- Layering always adds volume - the goal is controlling where it lands, not avoiding it.
- Keep the layer closest to your midsection smooth and fitted. Volume goes outside and open.
- An open outer layer past mid-thigh creates two vertical lines that frame rather than cover.
- Never let a hem end level with the widest point. Go clearly above or clearly below.
- For coats: structured shoulder, length past mid-thigh, a vertical closure line, and skip the belt.
- Chunky knits are fine - as the open outer layer, never as the base.
The reason so much layering advice fails on an apple-shaped frame is that it was written around defining a waist. Swap that goal for creating verticals and the same wardrobe starts working, usually without buying anything new.
Keep Reading
This article is for general informational and styling purposes only. Fit, sizing, and product availability may vary.
